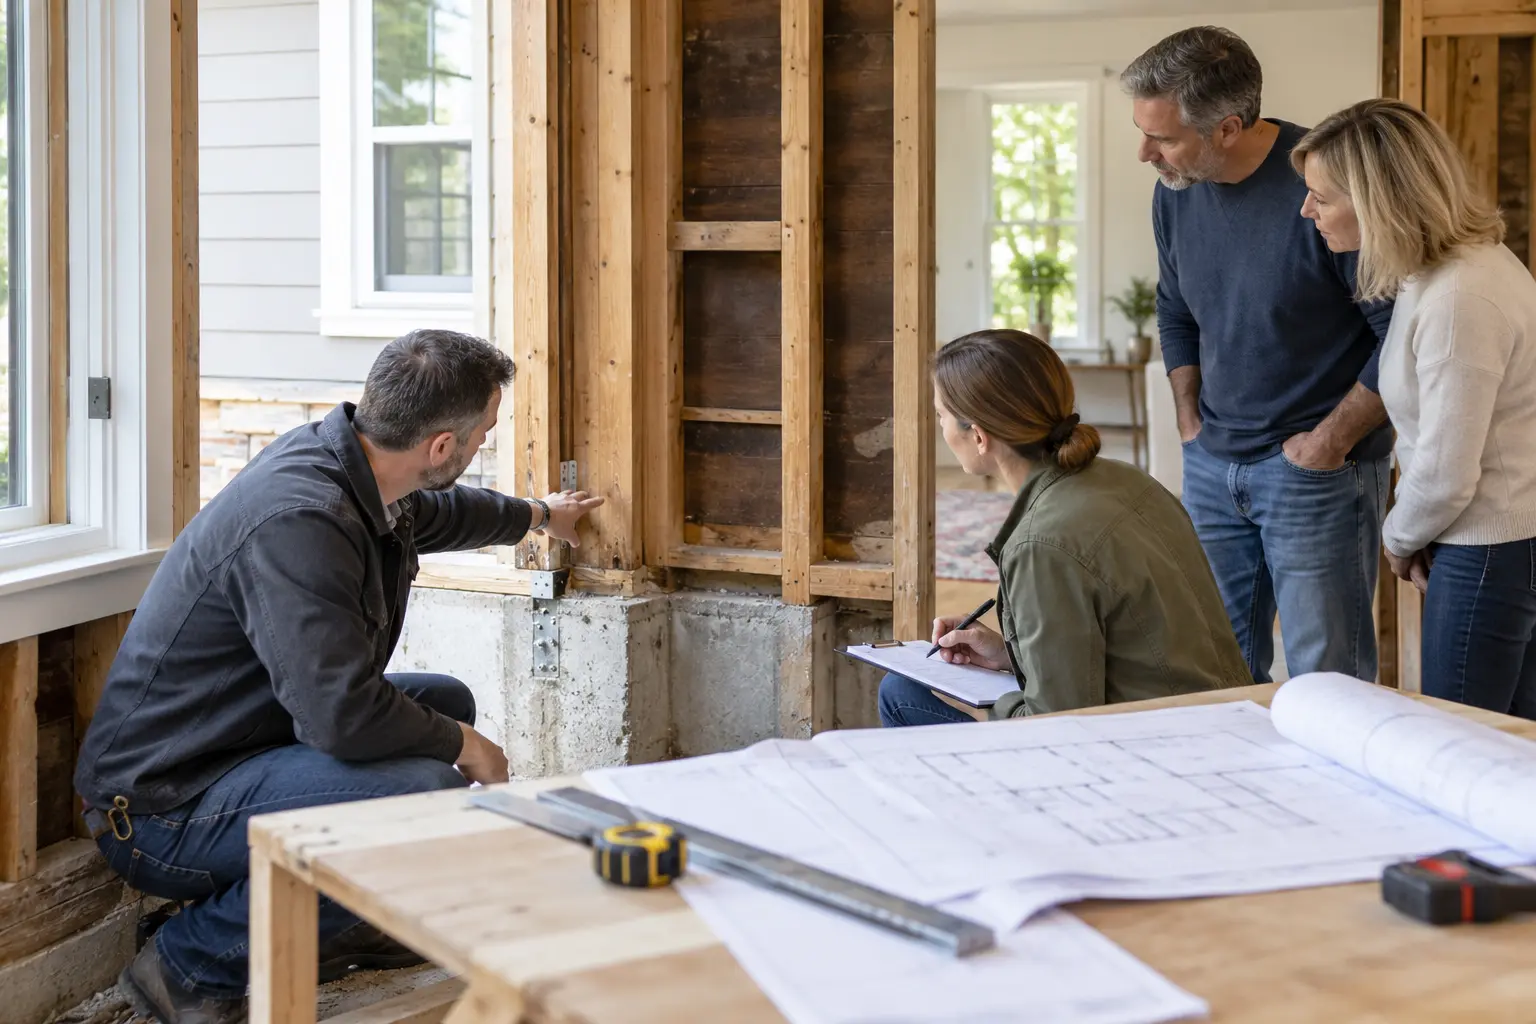
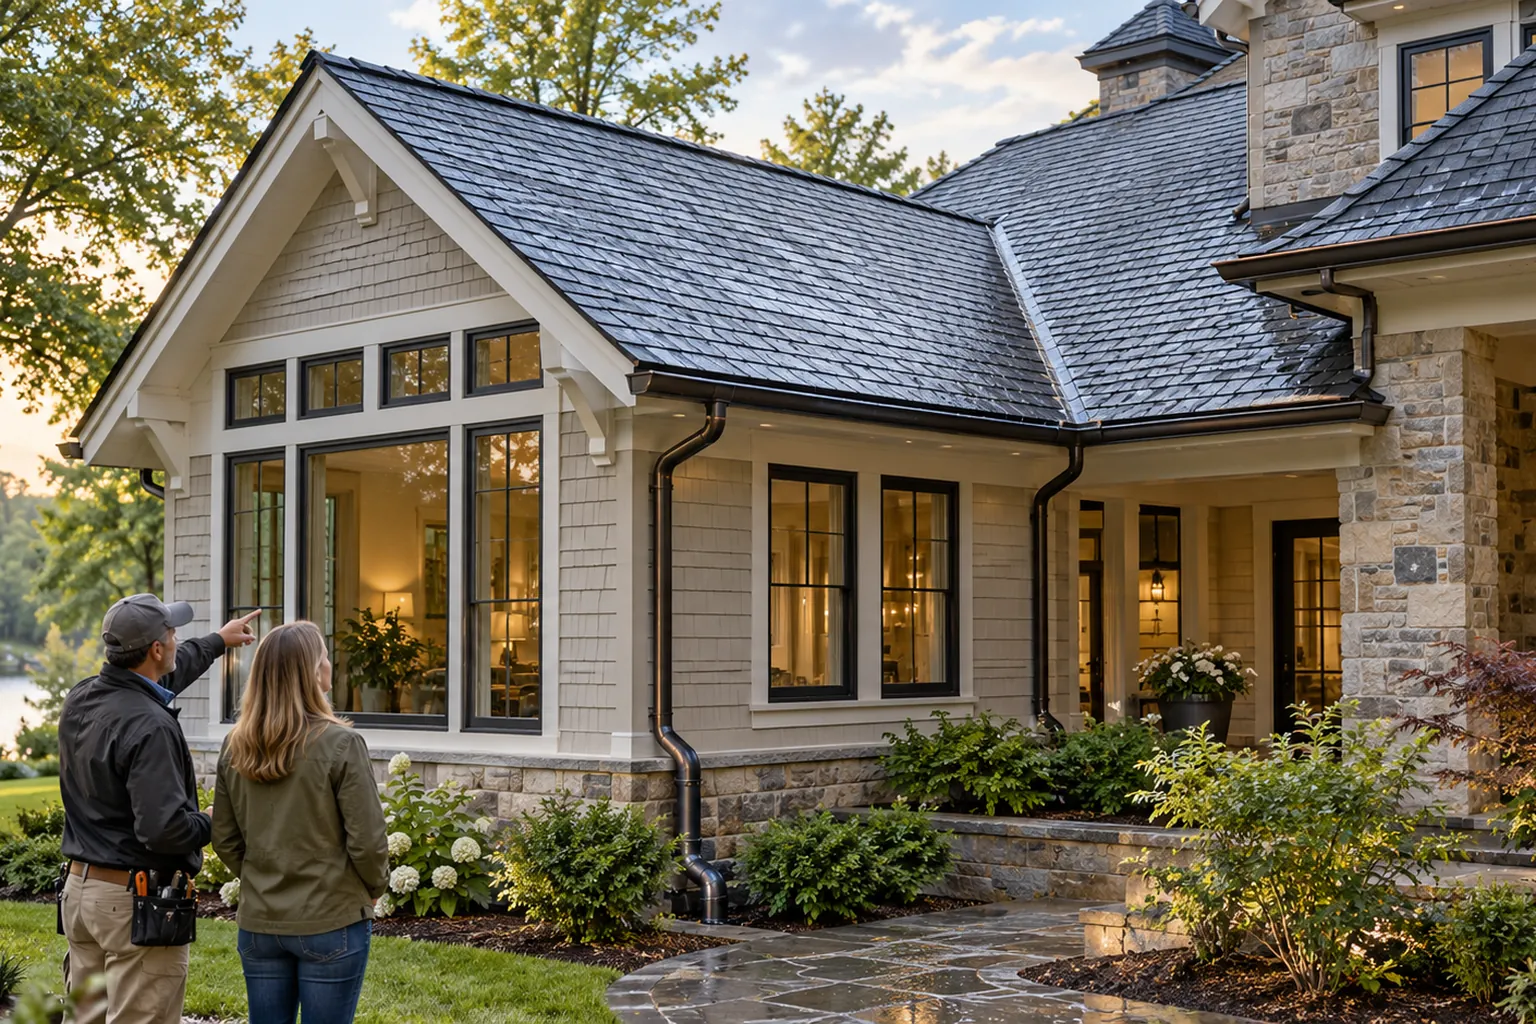
A home addition changes the way the entire building sheds water. Even when the new roof covers only a small area, it can create new valleys, roof-to-wall intersections, drainage concentrations, gutter routes, and transitions between old and new materials.
These locations are among the most vulnerable parts of an addition. A roof tie-in must do more than look appropriate from the street: it must carry structural loads, direct water away from the building, maintain a continuous weather barrier, accommodate movement, and remain practical to inspect and maintain.
This article explains the planning and coordination issues homeowners should understand. It intentionally avoids trade-level installation instructions because the correct assembly depends on the roof system, climate, manufacturer requirements, existing conditions, and local codes.
What Is a Roof Tie-In?
A roof tie-in is the area where the addition’s roof connects to or interacts with the existing roof and exterior walls. The design may extend an existing roof plane, intersect it with a new gable or shed roof, connect at a wall, or create a separate roof mass joined by a lower transition.
The tie-in affects several systems at once:
-
Roof framing and structural load paths
-
Roof slope, geometry, and drainage direction
-
Roofing, underlayment, flashing, and sealants
-
Wall weather barriers and exterior cladding
-
Gutters, downspouts, scuppers, drains, and site drainage
-
Insulation, ventilation, air sealing, and attic access
-
Solar panels, vents, chimneys, skylights, and rooftop equipment
A successful design coordinates all of these systems rather than assigning the intersection to the roofer after framing is complete.
Roof Geometry Comes First
Roof shape determines where water flows and where it may collect. Simple forms generally create fewer intersections, but the best geometry must also respond to ceiling heights, existing roof elevations, setbacks, architectural character, structural spans, windows, solar access, and drainage.
Extending an existing roof plane
Continuing an existing slope can produce a visually integrated result, but the design must verify available height, structural support, roofing condition, and whether the old and new surfaces can be joined without creating a noticeable change in plane or drainage.
Gable intersections
A new gable can provide useful interior volume and a clear architectural form. Where it intersects the existing roof, however, valleys may concentrate runoff and collect debris. The framing and waterproofing at those valleys require careful coordination.
Shed or low-slope connections
A shed roof can fit beneath existing eaves or upper-story windows, but limited vertical space may force a lower slope. Roofing products have minimum-slope and detailing requirements, and some materials appropriate for steep roofs are not suitable for low-slope conditions.
Roof-to-wall conditions
When a new roof terminates against an existing wall, water must be directed away from both the roof surface and the wall assembly. Windows, doors, siding transitions, vents, and other penetrations above the roof can complicate the drainage path.
Why Valleys and Intersections Need Special Attention
Valleys carry water from two roof planes, so they often experience greater flow than the surrounding roof. They can also collect leaves, branches, sediment, snow in colder climates, and wind-driven debris.
Potential concerns include:
-
A valley that terminates against a wall or into a narrow gutter
-
Roof planes that direct large amounts of water toward a small transition
-
Debris-prone locations that are difficult or unsafe to access
-
Short or irregular flashing conditions around nearby penetrations
-
Existing roofing that is brittle, layered, deteriorated, or difficult to match
The goal is not merely to seal the visible joint. The assembly should provide overlapping layers that direct water outward even if some water passes beneath the outer roofing.
Flashing Is a System, Not a Tube of Sealant
Flashing directs water across changes in plane, material, or direction. Roof-to-wall flashing, valley lining, edge metal, penetration flashing, and transitions to the wall weather barrier must work together.
Sealants may be part of an approved assembly, but exposed caulk should not be expected to compensate for missing or poorly integrated flashing. Sealants age, move, and require maintenance. Durable water management relies on geometry, laps, drainage, and compatible materials as well as sealant.
The design and installation must follow applicable codes and manufacturer instructions. Mixing products without confirming compatibility can affect adhesion, corrosion resistance, performance, and warranties.
Existing Roof Condition Changes the Scope
Connecting to an older roof often requires removing more material than homeowners expect. Roofing may need to be opened back far enough to integrate underlayment and flashing correctly rather than simply covering the joint.
Before finalizing the scope, the team should evaluate:
-
Approximate roof age and remaining service life
-
Number and type of existing roofing layers
-
Decking condition and evidence of prior leaks
-
Availability and appearance of matching materials
-
Existing underlayment, flashing, ventilation, and edge conditions
-
Solar panels, gutters, vents, antennas, or equipment that must move
If the existing roof is near the end of its service life, replacing a larger area—or the full roof—may be more practical than creating a new tie-in that must be disturbed again soon. That is a project-specific cost, warranty, and sequencing decision.
Plan the Entire Drainage Path
Roof drainage does not end at the roof edge. Gutters and downspouts must carry water to a lawful discharge location that protects foundations, neighboring properties, slopes, walkways, and landscaping.
An addition may increase roof area or redirect water to a different side of the property. Existing gutters, downspouts, area drains, swales, or storm connections may not have been designed for the new pattern.
The design team should consider:
-
How much roof area drains to each valley, gutter, or outlet
-
Whether existing gutters and downspouts remain appropriately located
-
Where concentrated discharge will go during heavy rain
-
Whether water could pond near the old or new foundation
-
Whether discharge affects a neighbor, retaining wall, slope, or public way
-
How the system will be accessed for cleaning and maintenance
Local rules may govern stormwater, property-line discharge, erosion, and connections to public systems. These requirements should be confirmed during design rather than left to the end of construction.
Coordinate Structure, Enclosure, and Building Systems
Roof framing establishes the slopes and intersections that the roofing contractor must waterproof. Structural members, ceiling profiles, insulation depths, ventilation paths, and mechanical routes should therefore be coordinated before framing begins.
Common conflicts include:
-
A beam or valley rafter occupying space needed for drainage or insulation
-
A low connection that leaves insufficient slope or flashing height
-
Ducts or vents emerging near valleys or roof-to-wall intersections
-
Skylights, solar equipment, or plumbing vents placed in concentrated drainage paths
-
An unvented or poorly accessible attic pocket created by the addition
Small drawing discrepancies can become major field problems because roof elevation is constrained by the existing house. Critical heights should be verified before fabrication and again during framing.
Energy, Ventilation, and Condensation
The tie-in must maintain continuity in the thermal and air-control layers. Changes in attic type, roof slope, insulation method, or ventilation strategy can create hard-to-reach pockets or surfaces where condensation develops.
The design should identify whether roof and attic areas are vented or unvented, how insulation connects to existing assemblies, and how air leakage will be controlled. Mechanical and energy-code requirements vary, so these decisions belong in the coordinated design documents.
Temporary Weather Protection During Construction
Creating a roof tie-in usually requires opening the existing roof. The contractor should plan work around weather forecasts and have temporary protection ready before demolition begins.
The construction plan should address:
-
How much of the existing roof will be exposed at one time
-
How occupied areas and stored belongings will be protected
-
How temporary coverings will be secured and drained
-
Who monitors protection outside normal work hours
-
How water intrusion will be documented and addressed
Temporary coverings reduce risk but do not make an open building equivalent to a completed roof. Sequencing, staffing, material availability, and contingency planning all matter.
Inspections, Testing, and Documentation
Required inspections vary by jurisdiction and roof system. Structural framing, roof sheathing, underlayment, flashing, insulation, and drainage components may need review at different stages, and some work becomes concealed quickly.
Homeowners should confirm who is responsible for manufacturer-required inspections, specialty observations, photographs, testing, and warranty registration. Progress photos are particularly useful at tie-ins because the most important layers may not be visible after completion.
Maintenance After the Addition Is Complete
A well-designed roof still needs maintenance. Valleys, gutters, drains, sealants, penetrations, and transitions should be inspected periodically and after severe weather. Debris should be removed before it blocks drainage or traps moisture.
The closeout package should identify roofing products, colors, installers, warranties, maintenance instructions, and any locations that deserve special attention. Homeowners should know how to access these areas safely or hire an appropriate professional.
Foundation Tip
Ask the design and construction team to trace one raindrop from every new roof plane all the way to its final discharge point. If any part of that path depends on an improvised field decision, the drainage design is not yet complete.
How Foundation Can Help
Foundation helps homeowners identify coordination gaps before they become leaks, change orders, or maintenance problems. Through a Foundation Strategy Session, Renovation Roadmap™, Foundation Feasibility Report™, or Foundation Bid Review™, we can help clarify assumptions about roof scope, existing conditions, drainage, temporary protection, and responsibility between the design team and contractor.
Foundation does not design or install roofing and does not replace architects, engineers, roofing professionals, contractors, manufacturers, or building officials. Our role is to help the homeowner understand the decisions, ask better questions, and compare scopes more effectively.
Important Disclaimer
This article provides general educational information and is not architectural, structural, roofing, waterproofing, code, or construction advice. Roof assemblies and drainage requirements vary by building, site, climate, materials, manufacturer, and jurisdiction. Engage qualified professionals and confirm current requirements with the authority having jurisdiction.