Quality control on a home addition is not a single inspection at the end. It is a series of planned reviews, measurements, tests, approvals, and corrections performed throughout construction. The most valuable checkpoints occur before concrete is poured, walls are closed, waterproofing is concealed, or finishes make problems expensive to reach.
Homeowners should understand those milestones and the project’s quality process, but they should not attempt to supervise trades or replace the contractor, design professionals, testing agencies, or building officials. A clear communication structure protects both the work and the contractual relationships.
Quality Control Is Different from a Building Inspection
Contractor quality control is the contractor’s process for confirming that work meets the contract documents, manufacturer requirements, approved submittals, and applicable standards. It may include supervision, trade coordination, measurements, mockups, checklists, testing, photographs, and correction of deficient work.
Jurisdiction inspections are performed at required stages to evaluate compliance with applicable codes and approved permit documents. Passing an inspection is important, but it is not a guarantee that every contractual detail, finish expectation, manufacturer instruction, or performance objective has been reviewed.
Architects, engineers, specialty consultants, testing agencies, commissioning providers, and owner representatives may perform additional observations or tests within their contracted scope. Each role is different, and none eliminates the contractor’s responsibility for constructing the work.
Establish the Quality Baseline Before Construction
Quality is difficult to evaluate when the documents and expectations are incomplete. Before work begins, the team should identify the governing information:
-
Signed contract, scope, allowances, alternates, and exclusions
-
Approved plans, specifications, engineering, and permit corrections
-
Approved products, submittals, samples, and finish selections
-
Manufacturer installation requirements and warranty conditions
-
Required inspections, special inspections, testing, and design-professional observations
-
Mockups, tolerances, matching expectations, and acceptance criteria where appearance matters
-
Responsibility for documenting, reporting, correcting, and closing quality issues
If the contractor, designer, and owner are working from different document versions, quality disputes become much more likely. Maintain a clear current set and record approved changes.
Addition-Specific Quality Risks
The most sensitive areas are often where the new addition meets the existing home. These interfaces may involve structure, waterproofing, roofing, siding, insulation, air sealing, flooring, trim, utilities, and finish transitions in the same location.
Conditions in the existing home may also differ from the design assumptions. The quality process should provide a way to stop, document, and obtain professional direction when concealed conditions are uncovered rather than forcing new work to fit an incorrect assumption.
Key Quality-Control Milestones
1. Existing Conditions and Layout
Before excavation or demolition, the team should confirm the addition’s location, setbacks, elevations, property-line information used by the project, finished-floor relationships, and critical dimensions. Existing conditions that affect roof lines, drainage, access, structural connections, or utility routes should be documented.
Errors in layout or elevation can affect nearly every later trade. Questions should be resolved before significant work relies on the initial layout.
2. Excavation, Soil, and Foundation Preparation
Foundation work is difficult and costly to correct after concrete is placed. Required reviews may address excavation depth and bearing conditions, footing dimensions, reinforcing, anchor locations, hold-downs, embeds, sleeves, under-slab utilities, moisture or vapor-control components, and form elevations.
Every jurisdiction will establish its own inspection requirements, and many projects require structural engineering. Some sites or jurisdictions may also require a geotechnical or soils engineer to evaluate bearing conditions, compaction, fill, expansive soils, groundwater, or other site-specific issues.
Do not rely on homeowner observation to approve foundation work. Confirm that required jurisdiction inspections, engineering observations, testing, and documentation occur before placement and that identified corrections are completed.
3. Concrete Placement and Curing
The contractor should coordinate placement conditions, access, consolidation, finishing, protection, curing, and any required concrete testing. Anchor bolts, embedded hardware, slab depressions, drains, and elevations should be checked while correction is still practical.
Cosmetic expectations should be distinguished from structural and performance requirements. Cracking, finish variation, or surface conditions may require evaluation based on the intended finish, contract requirements, and professional guidance.
4. Framing and Structural Connections
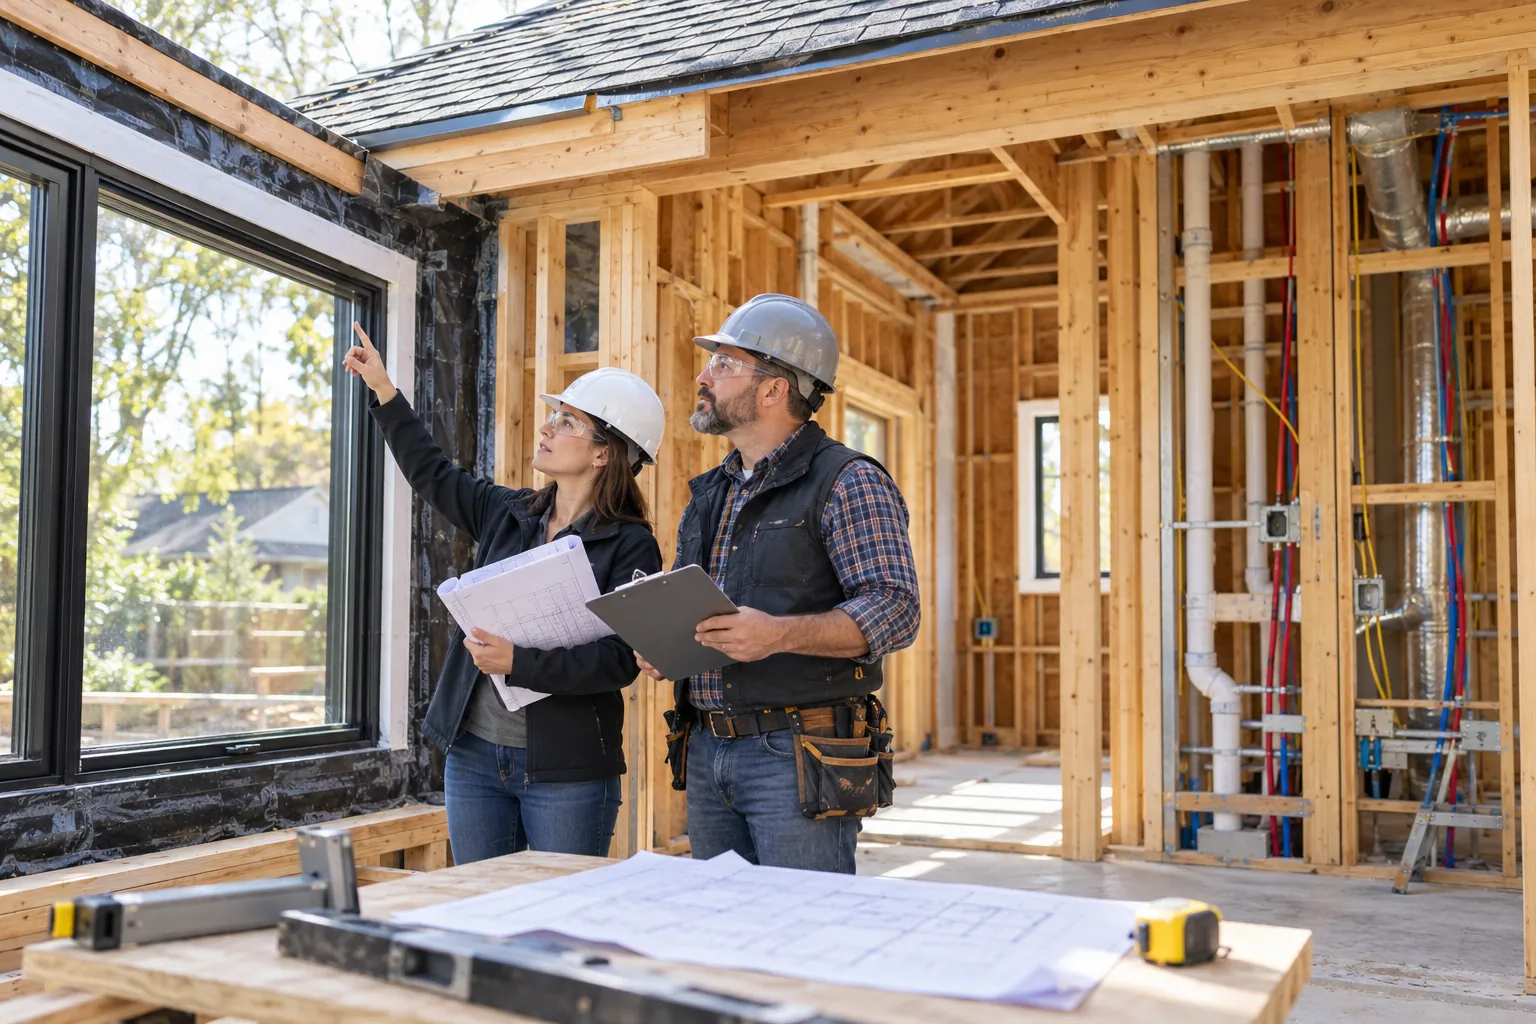
Framing reviews should occur before insulation and drywall conceal the work. Critical items can include member sizes and spacing, beams, posts, headers, shear walls, nailing, connectors, hold-downs, blocking, fire stopping, roof framing, and the engineered connection between the addition and the existing structure.
Field modifications to engineered members or structural details should be reviewed by the responsible design professional when required. Holes, notches, cuts, substitutions, and relocated hardware can affect structural performance even when they appear minor.
5. Dry-In, Roofing, Windows, and Exterior Waterproofing
Water management is one of the most important quality areas in an addition. Review points may include roof-to-wall transitions, flashing, weather-resistive barriers, window and door installation, deck or balcony interfaces, penetrations, weeps, sealants, siding or stucco transitions, and drainage away from the foundation.
These assemblies rely on sequencing and continuity. A product can be installed correctly by itself but still fail at its interface with adjacent materials. Photographs taken before exterior finishes conceal flashing and membranes can provide a useful project record.
6. Rough Mechanical, Electrical, and Plumbing Work
Before walls and ceilings are closed, the team should verify that rough systems align with the approved plans, equipment, fixtures, cabinetry, structural framing, and intended room layouts. Coordination matters as much as individual trade workmanship.
Review points may include fixture and device locations, drain and vent routing, shutoffs, electrical capacity, panel and circuit coordination, HVAC distribution, combustion-air and exhaust requirements, equipment clearances, condensate disposal, fire-sprinkler components, and access for future service.
Required pressure tests, leakage tests, utility coordination, and rough inspections should be completed and documented before concealment.
7. Insulation, Air Sealing, and Fire Protection
Insulation quality depends on coverage, thickness, fit, and continuity—not simply the product label. Gaps, compression, inaccessible cavities, thermal bridges, and poorly sealed penetrations can reduce performance. Fire blocking, draft stopping, fire-rated assemblies, and penetration protection must also be installed where required.
These items become difficult to evaluate after drywall. Required energy, insulation, and fire-related inspections should be coordinated before closure.
8. Pre-Drywall Coordination Review
A pre-drywall review is a valuable last opportunity to see structure, utilities, backing, and concealed components together. Confirm that required corrections are closed and that backing exists for cabinets, railings, grab bars, televisions, fixtures, or other supported items shown in the design.
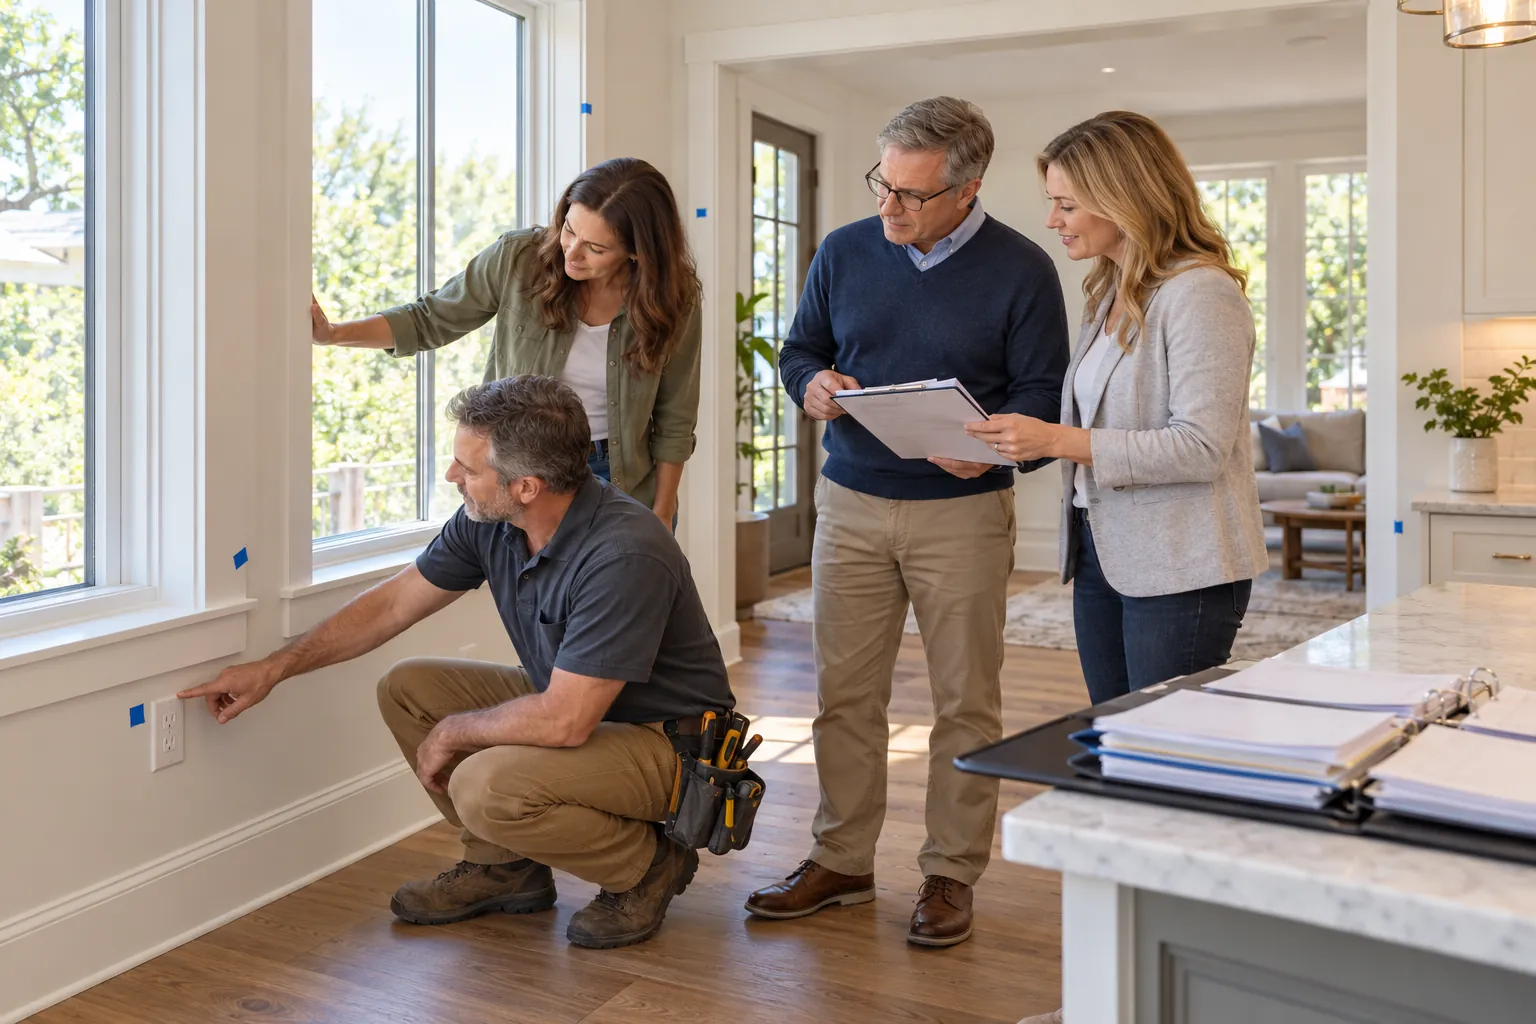
Homeowners may benefit from a documented walkthrough led by the contractor, but questions should flow through the designated project contact. The purpose is confirmation and documentation—not directing individual trades in the field.
9. Finish Samples, Mockups, and First Installations
When appearance is subjective or matching is difficult, a sample or limited first installation can establish expectations before repetitive work continues. This may be useful for stucco texture, masonry, siding transitions, flooring, tile layout, grout color, paint sheen, trim profiles, cabinet details, countertops, and sealants.
Approval should address the features that can reasonably be controlled. Existing materials may be aged, weathered, discontinued, or impossible to match exactly; the contract should clarify the expected standard.
10. Cabinets, Tile, Flooring, and Finish Work
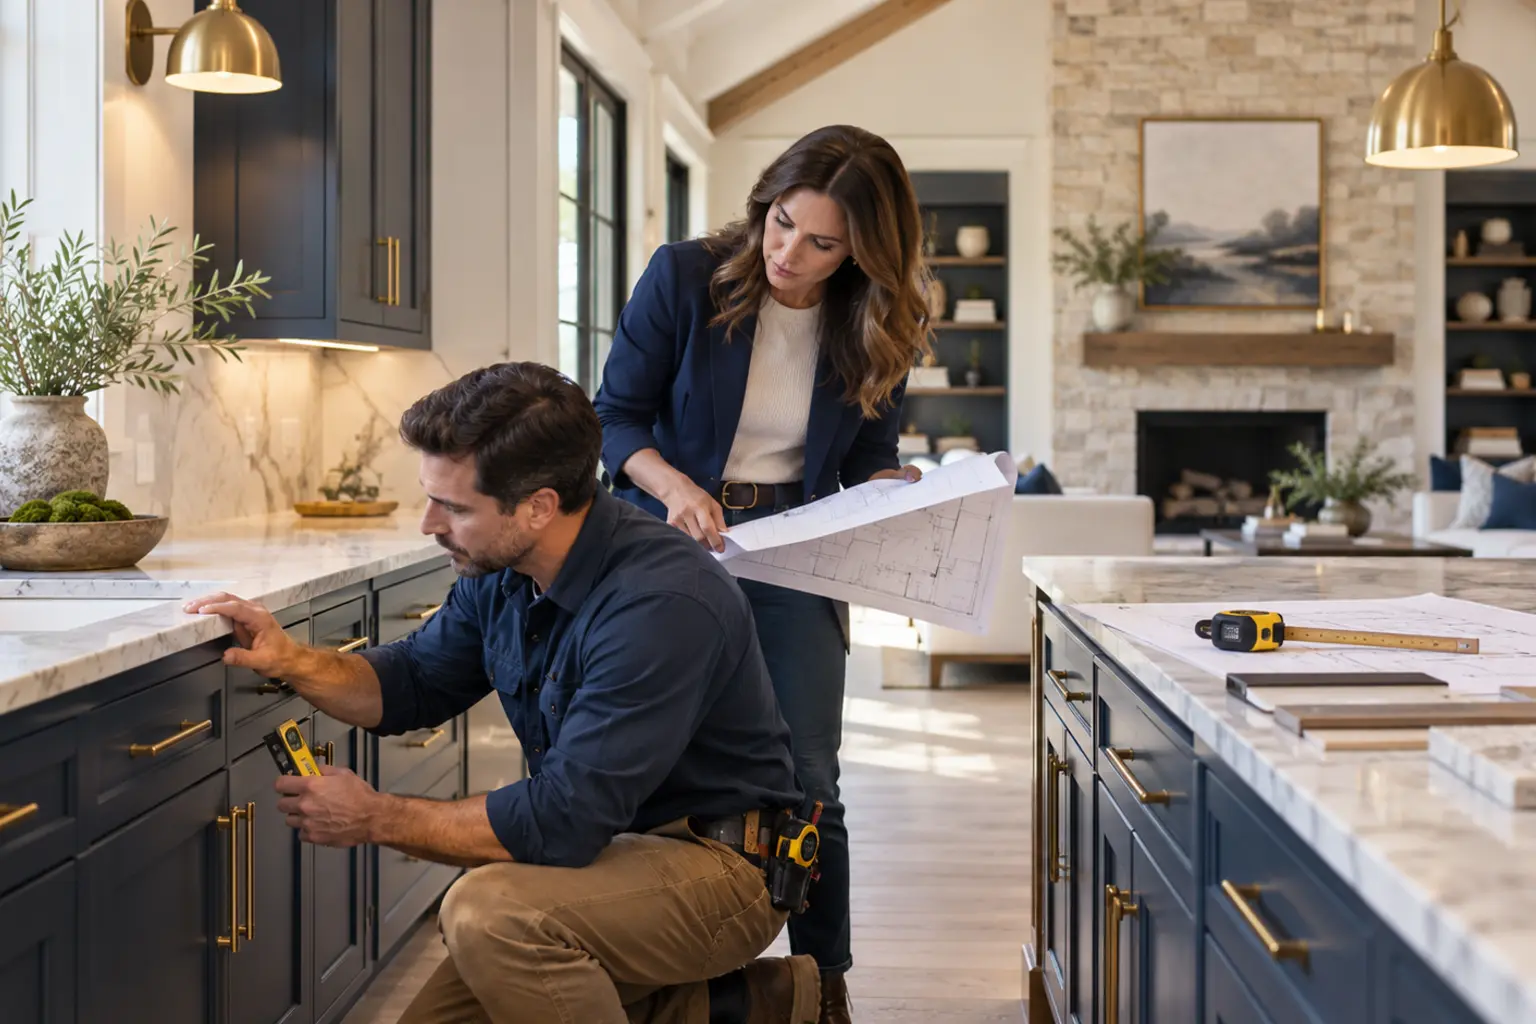
Finish quality is easier to manage when substrates, dimensions, moisture conditions, and layouts are checked before installation. Cabinet and appliance openings, tile transitions, flooring elevations, wall flatness, door clearances, and trim intersections can reveal coordination issues that began earlier.
Protect completed finishes from later damage. A well-installed product can still become a closeout problem if it is not protected from traffic, moisture, dust, tools, or follow-on trades.
11. Equipment Startup, Testing, and System Performance
Installation is not complete merely because equipment is in place. HVAC, water heating, ventilation, controls, appliances, lighting controls, safety devices, pumps, alarms, and other systems may require startup, adjustment, testing, balancing, programming, or owner orientation.
Confirm that required reports, settings, warranties, and operating information are collected. Problems found during startup should be resolved before final turnover whenever possible.
12. Punch Work and Final Walk
The final phase should confirm that the addition is complete, functional, clean, and consistent with the contract documents and approved changes. A punch list identifies incomplete or deficient work; it should not become a late design-change list.
Foundation’s Final Walk™ service can give homeowners an organized, independent review of visible completion and closeout concerns before final acceptance. It does not replace required inspections, concealed-work testing, or licensed architectural and engineering services.
Use Documentation as a Quality Tool
Good records help the team resolve questions while information is current. Useful documentation may include:
-
Daily or periodic progress photographs, especially before concealment
-
Inspection approvals, correction notices, and reinspection records
-
Engineering observations, testing reports, and special-inspection reports
-
RFIs, sketches, revised drawings, submittals, and approved substitutions
-
Product delivery, storage, installation, and warranty information
-
Issue logs showing the responsible party, required action, due date, and closure
-
Startup reports, balancing reports, commissioning information, and owner training
Documentation should support the project, not become an excuse to delay obvious corrections. The contractor should maintain control of the official construction record as required by the agreement.
How Homeowners Can Participate Without Micromanaging
-
Use the contractor’s designated communication channel
-
Attend planned milestone meetings rather than making repeated uncoordinated site visits
-
Ask questions through the project manager or superintendent, not individual subcontractors
-
Reference the contract documents and approved selections when raising a concern
-
Distinguish incomplete work from defective work; many assemblies are not meaningful until the sequence is complete
-
Document concerns objectively with location, date, photograph, and question
-
Allow the contractor to propose and implement corrective work within its responsibility
-
Escalate structural, waterproofing, safety, or code concerns to the appropriate qualified professional
Directing trades can create confusion, rework, safety issues, and disputes about authorization. The homeowner’s role is to maintain clear expectations and verify that the agreed quality process is functioning.
Red Flags Worth Prompt Attention
-
Required inspections or professional observations are skipped or repeatedly delayed
-
Work is covered before identified corrections or tests are completed
-
Field changes are made without updated direction where professional review is required
-
The team cannot identify the current plans, specifications, or approved selections
-
Waterproofing transitions are improvised without coordinated details
-
Products are substituted without review of performance, compatibility, warranty, and cost
-
The same defect recurs after correction
-
Quality concerns are discussed verbally but never documented or closed
A red flag does not prove the work is defective. It signals that the team needs clear documentation, qualified review, or a formal decision before proceeding.
Common Quality-Control Mistakes
-
Waiting until final completion to evaluate concealed work
-
Assuming a passed building inspection covers every contract requirement
-
Using photographs as a substitute for required inspections or testing
-
Reviewing finishes without first confirming the supporting substrate or layout
-
Changing products without checking adjacent systems and warranties
-
Allowing owner preferences to bypass the contractor’s communication and safety procedures
-
Creating an enormous punch list of design changes instead of identifying incomplete or deficient work
-
Failing to verify that issues were actually closed
Foundation Tip
Ask for the project’s inspection and quality-control schedule before construction begins. Identify the milestones that must occur before concrete placement, exterior concealment, drywall, finish installation, and final payment. The most important review is often the one that happens just before the work disappears.
How Foundation Can Help
Foundation can help homeowners identify project-specific review milestones, organize questions and issue tracking, and prepare for key walkthroughs without taking over the contractor’s role. Foundation can also provide the Final Walk™ service near completion to help the homeowner document visible punch and closeout concerns in an organized way.
Important Disclaimer
This article provides general educational information and is not a substitute for construction supervision, code inspections, special inspections, testing, or services provided by licensed architects, engineers, contractors, environmental professionals, commissioning providers, or other qualified specialists. Required reviews vary by project and jurisdiction. Do not authorize concealment or rely on homeowner observation where permits, contract documents, manufacturers, or licensed professionals require formal inspection, testing, or approval.