
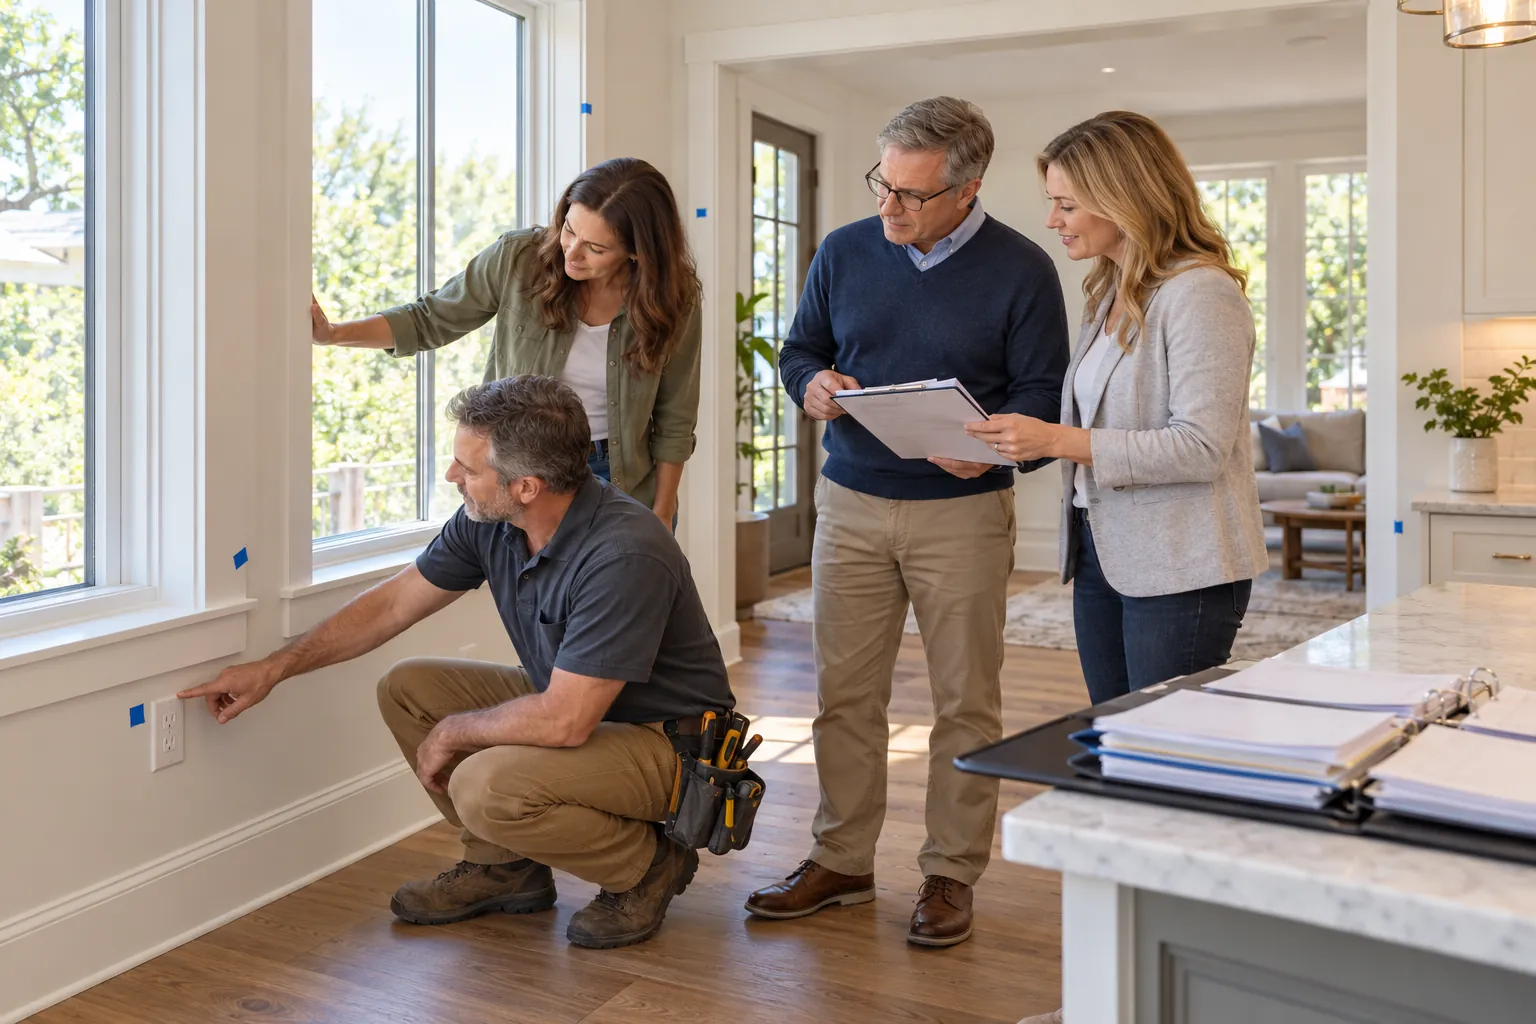
A home addition can look complete while important work remains. Final inspections, correction notices, testing, punch work, documentation, cleaning, warranty turnover, and financial closeout all occur near the end—and they do not always finish on the same day.
A disciplined closeout process confirms that the addition is legally approved for its intended use where required, contract work is complete, systems operate as intended, records are collected, and unresolved responsibilities are documented before final acceptance and payment.
“Almost Finished” Is a Project Phase
The last portion of construction often feels slower than homeowners expect. Many small tasks must be coordinated among different trades, and some depend on inspections, replacement parts, utility providers, design-professional responses, or final testing. A nearly complete room may still need several separate visits for trim, adjustments, paint touchups, controls, hardware, cleaning, and verification.
Closeout should be treated as a planned phase with its own schedule, responsible parties, deliverables, and decision points—not as an informal list handled after everyone leaves the site.
Final Inspection, Occupancy Approval, and Contract Completion Are Different
These terms are related but not interchangeable:
-
Final inspection: a jurisdictional review required to close a permit or approve a phase of work
-
Certificate of occupancy, temporary certificate, completion certificate, or similar approval: documentation used in some jurisdictions and project types to authorize occupancy or recognize completion
-
Substantial completion: a contractual milestone generally associated with the work being sufficiently complete for its intended use, subject to remaining items
-
Final completion: completion of the remaining contract requirements, corrections, documentation, and other closeout obligations
-
Final payment: a financial milestone governed by the contract and applicable law; it should not be assumed to mean the same thing as passing the final inspection
Terminology and requirements vary by jurisdiction and contract. Ask the contractor and design team what approvals and documents apply to the specific addition.
Prepare for Final Inspections Before Requesting Them
A final inspection is more likely to proceed smoothly when prerequisite work and earlier inspections are complete. The contractor should confirm that required corrections, approvals, tests, and documentation are in place before scheduling the final.
Potential prerequisites may include:
-
Approved revisions and resolved permit corrections
-
Completed structural, mechanical, electrical, plumbing, energy, fire, and other required inspections
-
Required special-inspection, testing, or engineering reports
-
Operational utilities, fixtures, equipment, alarms, ventilation, and life-safety systems
-
Addressing, access, guards, handrails, landings, glazing, egress, and other completion items
-
Site drainage, grading, stormwater, landscape, or exterior requirements included in the permit
-
Utility-provider releases, meter work, or service approvals where applicable
Final inspection requirements are jurisdiction-specific. The approved plans, inspection record, correction notices, and local authority—not a generic checklist—control the process.
Resolve Correction Notices Promptly
A final inspector may identify incomplete or noncompliant work. The contractor should document each correction, assign responsibility, complete the work, and schedule reinspection. If a correction requires a design revision, the responsible architect or engineer may need to provide updated documents or field direction.
Homeowners should ask for a clear status rather than relying on “the inspection is basically done.” Confirm whether the permit is still open, whether reinspection is required, and what documentation proves final approval.
Understand the Punch List
A punch list records incomplete or deficient contract work that can be corrected without redefining the project. Typical items may involve adjustment, touchup, replacement, cleaning, labeling, hardware, sealants, finish defects, or incomplete accessories.
A punch list is not intended to add features, upgrade selections, or revisit approved design decisions. New owner requests should be handled separately as changes if the contractor agrees to perform them.
A useful punch item identifies:
-
Specific location
-
Observed condition
-
Contract, drawing, selection, sample, or reasonable completion expectation involved
-
Responsible party
-
Target correction date
-
Verification and closure status
Group items into an organized list and route it through the contractor’s designated contact. Multiple conflicting lists from the owner, architect, designer, lender, and contractor can create confusion unless one party reconciles them.
Do Not Wait Until the Final Walk to Test Everything
Systems should be started, tested, adjusted, and documented before turnover whenever possible. Depending on the addition, this can include:
-
Heating, cooling, ventilation, thermostats, zoning, and air distribution
-
Plumbing fixtures, hot water, pumps, drains, shutoffs, and leak checks
-
Electrical panels, circuits, receptacles, lighting, dimmers, controls, and required labeling
-
Smoke alarms, carbon-monoxide alarms, security, low-voltage, and fire-sprinkler components
-
Appliances, exhaust fans, fireplaces, specialty equipment, and manufacturer startup procedures
-
Doors, windows, locks, screens, weatherstripping, and hardware
-
Drainage, irrigation, exterior lighting, and other site systems included in the scope
-
Required balancing, commissioning, test reports, or manufacturer-authorized startup
Testing should be performed by the responsible contractor, trade, manufacturer representative, testing agency, or qualified professional. A homeowner operating a switch during the final walk is not a substitute for required startup or formal testing.
Collect the Closeout Documents
The contract should identify the required turnover package. Useful records may include:
-
Final permit approval, signed inspection record, certificate, or jurisdiction closeout evidence
-
Approved plans, revisions, engineering, and relevant record drawings or as-built information
-
Product warranties and contractor warranty information
-
Operation and maintenance manuals
-
Equipment model and serial numbers
-
Paint colors, finish schedules, grout and sealant information, and attic-stock materials
-
Startup, balancing, testing, commissioning, special-inspection, and engineering reports
-
Submittals and approved substitutions that affect operation, replacement, or warranty
-
Care and maintenance instructions for roofing, waterproofing, flooring, counters, tile, cabinets, windows, doors, and other finishes
-
Keys, access codes, remotes, control credentials, and programming information
-
Final change-order log and complete contract-price reconciliation
-
Required lien releases, waivers, affidavits, or payment documentation
Digital files should be stored in an organized project folder with clear names. Keep critical permit, warranty, and concealed-condition records for future maintenance, insurance, refinancing, or sale of the property.
Review Warranties Before the Project Closes
Warranty requirements vary. Some periods begin at delivery, installation, substantial completion, final completion, or another defined date. Manufacturer warranties may require registration, authorized startup, maintenance, or proof of purchase. Contractor and subcontractor obligations may follow different rules.
Before closeout, identify:
-
Who receives warranty requests
-
When each warranty begins and ends
-
What documentation or registration is required
-
Which maintenance actions are required to preserve coverage
-
What is excluded or treated as normal maintenance
-
How emergency issues should be reported
Do not assume that every future issue is covered. Movement, wear, owner damage, lack of maintenance, consumable items, and work outside the contractor’s scope may be excluded.
Final Cleaning and Protection Matter
Construction cleaning is not always the same as move-in-ready cleaning. The contract should clarify whether the scope includes debris removal, broom cleaning, detailed cleaning, window cleaning, duct or grille cleaning, floor care, appliance cleaning, and removal of labels or protective films.
The team should also address damage to existing areas, access paths, landscaping, fences, driveways, and finishes used during construction. Temporary protection should not be removed until follow-on work no longer threatens completed surfaces.
Confirm Site and Exterior Completion
Home-addition closeout extends beyond the interior. Review grading, drainage, downspouts, roof discharge, exterior sealants, siding or stucco transitions, paving, utility trenches, fences, gates, irrigation, landscaping, exterior lighting, and restoration included in the scope.
Pay special attention to the connection between new and existing construction. Roof-to-wall intersections, flashing, finish transitions, thresholds, drainage, and penetrations are common locations where incomplete details can create future problems.
Coordinate Final Payment Carefully
The contract and applicable law govern payment timing, retainage, lien rights, releases, and final acceptance. Before making final payment, homeowners should understand which items are complete, which remain open, what closeout documents are still due, and how unresolved warranty or punch items will be handled.
A lender may also require inspections, draw documentation, title updates, lien releases, or proof of permit completion. Contractor completion, lender approval, and jurisdiction closeout should be coordinated rather than treated as one event.
Do not withhold payment outside the contract or applicable law based on a generic rule. When payment or lien issues are unclear, obtain advice from qualified local legal and financial professionals.
Plan the Owner Orientation
The contractor or responsible trade should explain the systems the owner will operate and maintain. The orientation may cover shutoffs, panels, filters, thermostats, controls, alarms, ventilation, equipment clearances, winterization, drainage, cleaning products, maintenance intervals, and warranty contacts.
Record the orientation if all participants agree, or maintain concise notes and photographs. Label critical shutoffs and controls, and confirm that the household knows how to respond to leaks, outages, alarms, or equipment faults.
Use a Final Walk Strategically
A final walk should occur when the contractor believes the work is ready for review—not while major construction is still active. Bring the current scope, approved selections, existing issue list, and a method for recording locations and photographs.
Focus on incomplete or deficient work, operational concerns, damage, cleaning, and missing documentation. Avoid turning the final walk into a redesign session. Confirm who will consolidate the list, how corrections will be scheduled, and how completion will be verified.
Foundation Final Walk™
Foundation’s Final Walk™ service provides homeowners with an organized, independent review of visible completion, punch, and closeout concerns near the end of a renovation or addition. The service helps document observations and prepare focused follow-up questions for the contractor.
Final Walk™ does not replace jurisdiction inspections, code enforcement, concealed-work testing, architectural or engineering services, environmental assessment, warranty administration, or legal advice. It is most useful when scheduled after the contractor’s own quality-control review and before the homeowner completes final acceptance.
Common Closeout Mistakes
-
Treating a passed final inspection as proof that every contract item is complete
-
Making final payment without understanding outstanding punch work and document requirements
-
Waiting until the final walk to start or test equipment
-
Creating several uncoordinated punch lists
-
Adding owner-requested upgrades to a punch list
-
Failing to obtain proof that the permit was formally closed
-
Losing warranty, model, serial-number, paint, and finish information
-
Ignoring exterior restoration, drainage, and new-to-existing transitions
-
Failing to verify completed corrections
-
Assuming warranties will remain valid without registration or maintenance
Foundation Tip
Start a closeout tracker before the project reaches the final weeks. Separate it into four categories: jurisdiction approvals, physical punch work, system testing and owner training, and documents and financial closeout. The project is not fully closed until all four categories have a documented status.
How Foundation Can Help
Foundation can help homeowners organize the closeout process, reconcile punch and document lists, prepare questions for the contractor and design team, and track unresolved turnover items. Foundation can also provide the Final Walk™ service to review visible completion and closeout concerns before final acceptance.
Important Disclaimer
This article provides general educational information and is not legal, architectural, engineering, code, lien, tax, insurance, or financial advice. Final inspection, occupancy, payment, warranty, lien-release, and closeout requirements vary by jurisdiction and contract. Follow the approved documents and signed agreement, and consult the contractor, licensed design professionals, local authorities, lender, insurer, and qualified legal counsel as appropriate.